5 Best Google Drive Hacks For Teachers | Organization Tutorial
Dec 17, 2022
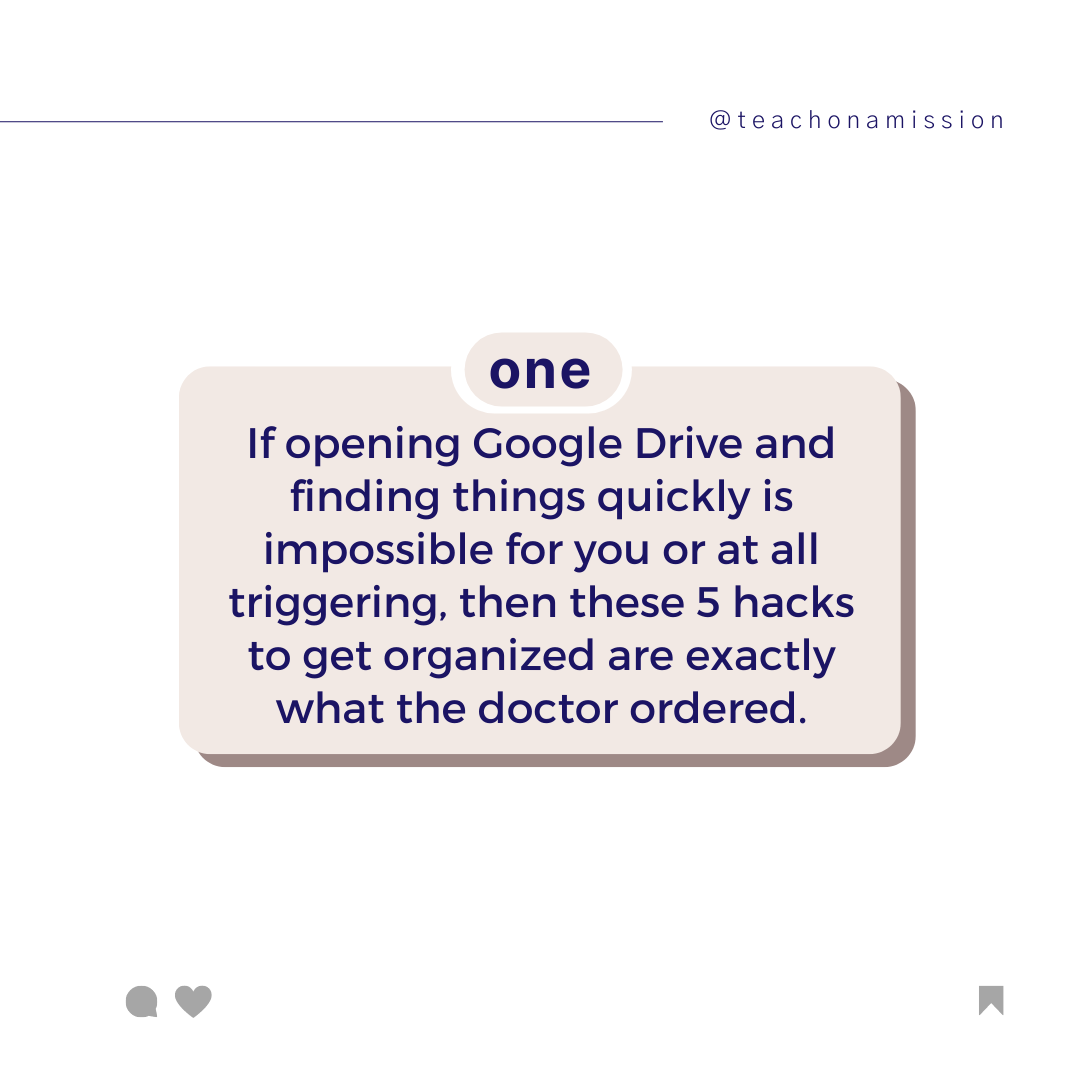
Ever been sitting at your desk, like this, and you go to make a quick lesson plan or double check you have everything you need for an upcoming lesson, and when you go to your Google Drive you lose your ever-loving-shiz trying to find something.
No, no way, not you…
Well if that’s something you’ve experienced, this video is just. For. you.

5 Best Google Drive Hacks for Teachers
- Number one, best tip, number your folder AND documents. If you’re like me, you don’t think nor do you organize anything really in alphabetical order. And especially in teaching when so much of content we create goes in a certain time order, the way we organize files should be the same
- Show numbering main folders by course (make class you have most preps or will take up most brain space your number 1)
- Show numbering folders inside course folders by unit
- Show putting asterisks on docs you want at the top
- BONUS - make folders and subfolders
- Naming conventions - if it’s a test, name it test first, then what the title of the test is, if it’s a lesson plan, title it that first, then the title of the lesson plan, same with unit guide, or student handout, activity, anything. That way when you go to look for a particular item, you don’t have to read every single title…
- The Info dot on the right side to preview doc before opening and then to see if anyone else has touched it
- Color coding your folders - this one seems a bit superficial, but since i’ve done this, I won’t ever undo it. When we give our brain patterns, it will use them in a way to make shortcuts for our thinking - so use patterns. If you’re elementary - color code each subject area, same for middle/high school teachers - color code each course you teach, but not just the google drive, make it match your actual physical existing color coding - binder or notebooks, turn in bin, labels, calendar events on google calendar, etc.
- BONUS - use emojis in your folder names, even in file names - command + control + space to bring up emoji menu on mac, windows logo key + period on pc (don’t know for sure but that’s what google said when i asked)
- Make a copy and then drag it - Don’t reinvent the wheel every time you create a document that is the same format as another document. Make a copy, which you probably already knew that, but then what about how you get it into the right folder. Here’s a little drag and drop trick for you that way you don’t have to go through umpteen clicks to get it in the right folder. Show dragging to left side navigation.
- BONUS - when all else fails, search it. Type in any word that may be in the title depending on how little of a clue you have of what you named the thing, then click enter - don’t click in the list that auto-populates unless you know FOR SURE, otherwise just click enter and you’ll see all the possibilities.
Author

Mandy Rice
Author
Hey! I'm Mandy. I've been teaching for 10 years and flipping for about the same. I hope you find just what you need here in my little edupreneur website and blog your all your flipped classroom needs.
Recent Posts
Ep. 85 5 Monthly Habits of a Sustainable Teacher
Feb 21, 2023
Ep. 84 5 Daily Habits of a Sustainable Teacher
Feb 14, 2023
You want to flip your classroom but don't know where to start?
Get Mandy's Ultimate Flipped Classroom Starter Kit!

